The Ultimate No-Knead Cheesy Bread: Bakery-Quality Results at Home
If you have ever craved a warm, crusty loaf of artisanal bread but felt intimidated by the technical world of kneading, proofing, and dough hooks, this recipe is your kitchen revelation. The No-Knead Cheesy Bread is the hero of modern home baking. It requires zero muscle power, minimal active time, and yields a result that looks like it stepped right out of a high-end French boulangerie.
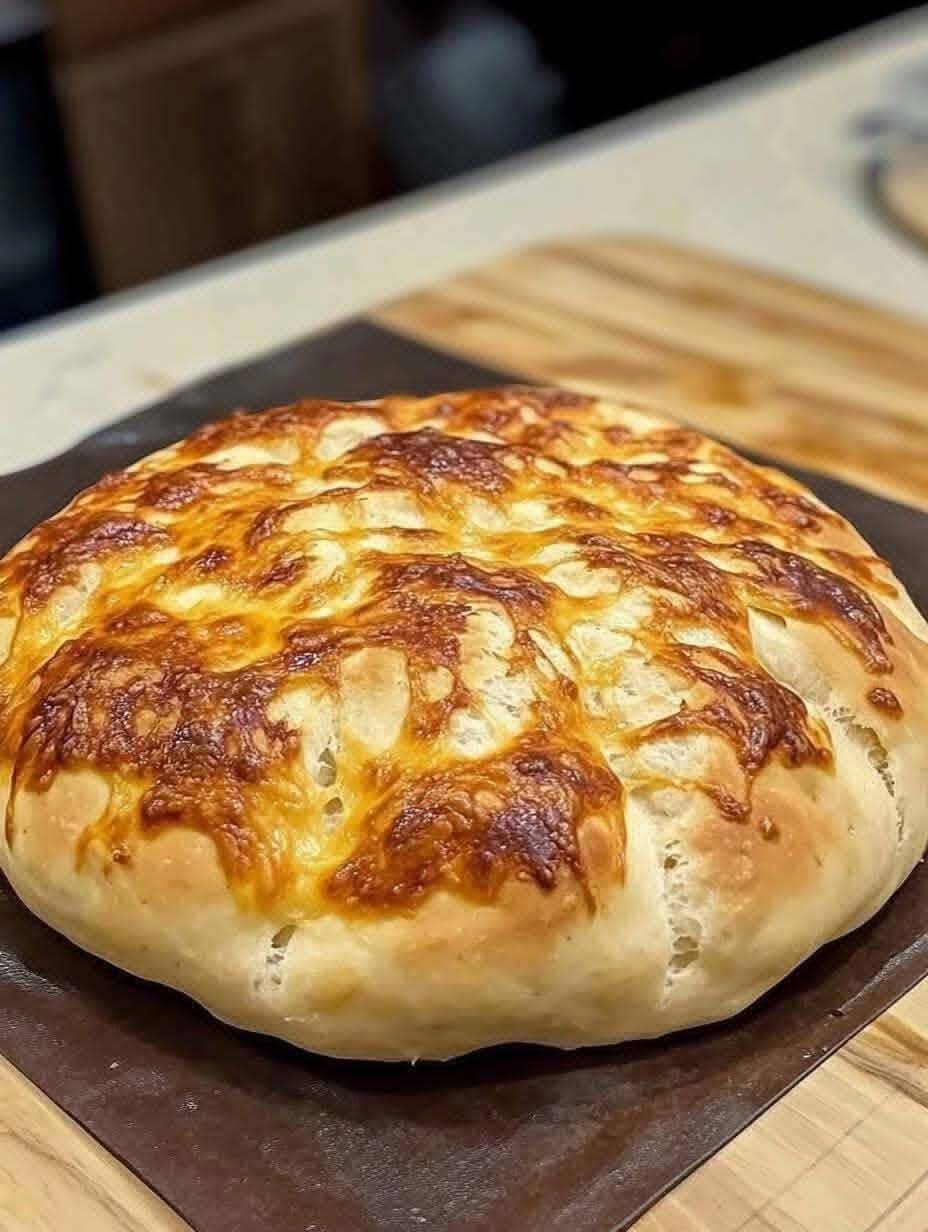
What makes this bread a fan favorite is its incredible contrast: a shatteringly crisp, golden-brown crust topped with toasted cheese, giving way to a soft, airy, and chewy interior. It is the perfect companion for a bowl of hot soup, the ultimate base for an elevated grilled cheese, or simply a show-stopping side dish for your next dinner party.
Why No-Knead Bread Actually Works
The science behind “no-knead” dough is surprisingly simple. Traditionally, kneading is used to develop gluten—the protein network that gives bread its structure. In this recipe, we let time and hydration do that work for us.
By using a higher water-to-flour ratio (a “wet” dough) and allowing it to rest for several hours, the gluten strands align themselves naturally. This slow fermentation doesn’t just save your arms from a workout; it also develops a deeper, more complex flavor profile that quick-rise breads simply can’t match. When you add a generous helping of cheese to this equation, you get a loaf with savory depth and a beautiful, bubbly aesthetic.
Essential Ingredients for Success
To achieve that perfect loaf seen in the photos, you only need a handful of pantry staples. Quality matters here, as there are so few ingredients.
- The Flour
While all-purpose flour works well, Bread Flour is the gold standard for this recipe. It has a higher protein content, which ensures your no-knead loaf has the strength to rise tall and maintain those beautiful air pockets. - The Yeast
Standard Active Dry Yeast or Instant Yeast both work. If using Active Dry, ensure you bloom it in warm water first to make sure it’s alive and ready to work. - The Cheese
This is where you can get creative. For the best “melt and toast” factor, a combination is key:
- Sharp Cheddar: For a punch of flavor.
- Mozzarella: For that classic cheese pull.
- Parmesan: For a salty, crispy crust on the top.
- Gruyère: If you want a more sophisticated, nutty profile.
- Warm Water
The water should be around 105°F to 115°F. If it’s too hot, you’ll kill the yeast; too cold, and the dough won’t rise within a reasonable timeframe.
Step-by-Step Instructions
Phase 1: Mixing the Shaggy Mass
In a large glass bowl, whisk together your flour, yeast, and salt. Gradually add the warm water, stirring with a wooden spoon or a sturdy spatula. The dough will look “shaggy” and very sticky—this is exactly what you want! Do not be tempted to add more flour. At this stage, fold in about half of your shredded cheese so it’s distributed throughout the loaf.
Phase 2: The Long Nap (Rising)
Cover the bowl tightly with plastic wrap or a damp kitchen towel. Let it sit in a warm, draft-free spot for at least 2 to 3 hours. If you have the patience, a slow rise in the refrigerator for 12–18 hours will produce the best flavor. You’ll know it’s ready when the dough has doubled in size and is covered in tiny bubbles.
Phase 3: Shaping and Topping
Preheat your oven to 450°F. If you have a Dutch oven, place it inside the oven while it preheats.
Carefully turn the sticky dough out onto a piece of parchment paper floured with a bit of cornmeal or flour. You don’t need to shape it perfectly; the “rustic” look is part of the charm. Top the dough generously with the remaining cheese.
Phase 4: The Bake
Lift the parchment paper and place the dough (and paper) into the hot Dutch oven.
- Bake covered for 25 minutes: This creates steam, which allows the bread to rise and develops the crust.
- Bake uncovered for 10–15 minutes: This is when the magic happens. The cheese on top will melt, bubble, and turn a deep, toasted golden brown.
Expert Tips for the Perfect Crust - The Dutch Oven Secret: Using a heavy lidded pot (like a Dutch oven) mimics a professional steam-injection oven. It traps the moisture escaping from the dough, keeping the surface supple so the bread can expand fully before the crust hardens.
- Don’t Skimp on Salt: Salt doesn’t just add flavor; it controls the yeast activity. Without enough salt, your bread will rise too fast and taste bland.
- The “Knock” Test: To see if your bread is done, carefully flip it over and tap the bottom. It should sound hollow.
- Patience is a Virtue: Resist the urge to cut into the bread immediately! It needs at least 20–30 minutes to cool. Cutting it too soon lets the steam escape, which can turn the inside of your bread gummy.
Flavor Variations to Try
Once you master the base recipe, the possibilities are endless: - Garlic & Herb: Add roasted garlic cloves and fresh rosemary to the dough.
- Jalapeño Cheddar: Fold in diced fresh jalapeños for a spicy kick that cuts through the rich cheese.
- Everything Bagel: Top the cheese with “everything” seasoning before baking.
- Bacon & Scallion: Add crispy bacon bits and chopped green onions for a loaded baked potato vibe.
Frequently Asked Questions (FAQs)
Can I make this without a Dutch oven?
Yes! You can bake it on a preheated baking sheet or pizza stone. To mimic the steam of a Dutch oven, place a shallow pan of water on the bottom rack of the oven during the first 15 minutes of baking.
Why didn’t my dough rise?
The most common culprits are expired yeast or water that was too hot (killing the yeast). Always check the expiration date on your yeast packet!
How do I store leftovers?
Store the bread in a paper bag at room temperature for up to 2 days. For longer storage, slice the bread and freeze it in a zip-top bag. Reheat slices in the toaster to regain that signature crunch.
Conclusion: Your New Go-To Loaf
The No-Knead Cheesy Bread proves that you don’t need fancy equipment or years of experience to be a baker. With just a few minutes of active work and a little bit of patience, you can produce a loaf that rivals any bakery. It is warm, comforting, and undeniably impressive.
Whether you’re serving it alongside a Sunday roast or eating a thick slice slathered in butter for a midnight snack, this recipe is sure to become a staple in your home.