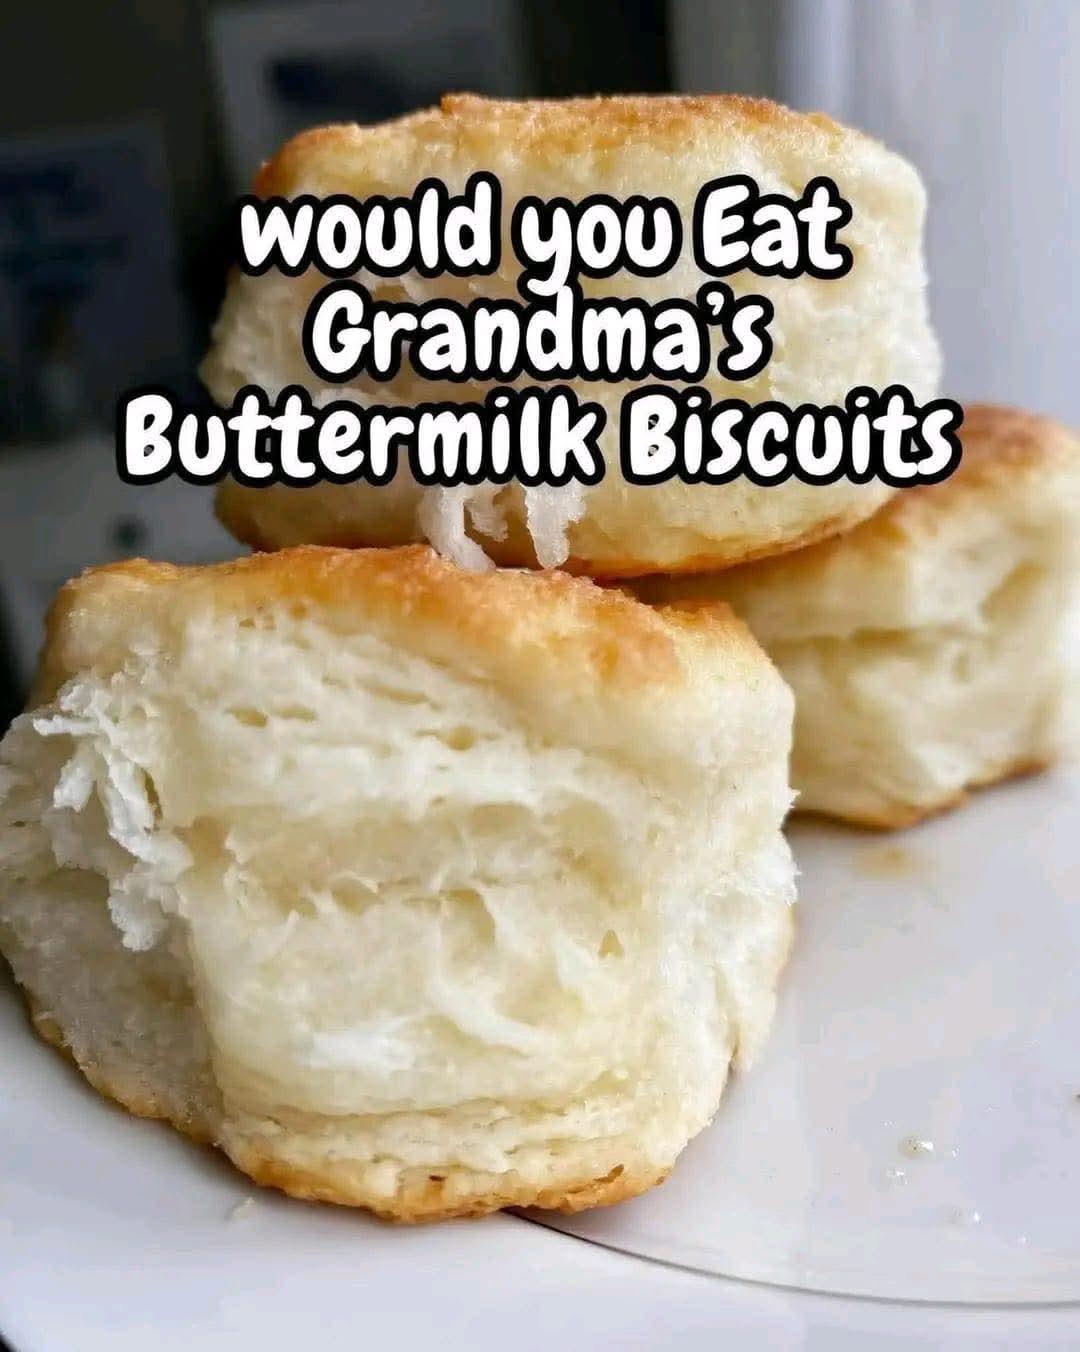
Grandma’s Buttermilk Biscuits: The Ultimate Guide to Fluffy, Flaky Southern Perfection
There’s something magical about pulling a tray of golden, sky-high buttermilk biscuits from the oven. The tops are lightly crisp, the layers are tender and buttery, and the aroma instantly fills your kitchen with warmth and comfort. Whether served with a pat of melting butter, drizzled with honey, or smothered in sausage gravy, classic buttermilk biscuits are a timeless staple that never goes out of style. If you’ve ever wondered how to make homemade buttermilk biscuits that are tall, flaky, and incredibly soft inside, this detailed guide will walk you through everything you need to know. From choosing the right ingredients to mastering biscuit technique, you’ll learn how to bake perfect biscuits every single time.
Why Buttermilk Biscuits Are a Classic Favorite
Buttermilk biscuits are deeply rooted in Southern baking traditions, but their popularity stretches far beyond regional boundaries. These biscuits are beloved for their simple ingredients, quick preparation, and versatile serving options. Unlike yeast breads, biscuits rely on baking powder or baking soda for lift, which means no waiting for dough to rise. In less than 30 minutes, you can have fresh, homemade bread on the table. The secret to their irresistible texture lies in cold butter and tangy buttermilk. When baked, the butter creates steam pockets that form delicate, flaky layers. Meanwhile, buttermilk adds both tenderness and a subtle tang that balances the richness. The result is a biscuit that’s crisp on the outside, light and airy inside, and packed with comforting flavor.
Ingredients for Perfect Buttermilk Biscuits
The beauty of traditional buttermilk biscuits is their simplicity. With just a handful of pantry staples, you can create bakery-quality results.
Dry Ingredients
2 cups all-purpose flour
1 tablespoon baking powder
1/2 teaspoon baking soda
1 teaspoon salt
Fat
1/2 cup (1 stick) unsalted butter, very cold and cubed
Liquid
3/4 to 1 cup cold buttermilk
Each ingredient plays a crucial role. The flour provides structure, baking powder and baking soda create lift, salt enhances flavor, butter creates flakiness, and buttermilk adds moisture and tenderness. Keeping the butter and buttermilk cold is essential for achieving tall, layered biscuits.
Step-by-Step Instructions for Fluffy Buttermilk Biscuits
Step 1: Preheat and Prepare
Preheat your oven to 425°F (220°C). Line a baking sheet with parchment paper or lightly grease it. A hot oven is critical because it helps the biscuits rise quickly and evenly.
Step 2: Mix the Dry Ingredients
In a large bowl, whisk together the flour, baking powder, baking soda, and salt. This ensures the leavening agents are evenly distributed.
Step 3: Cut in the Cold Butter
Add the cubed cold butter to the flour mixture. Using a pastry cutter or your fingertips, work the butter into the flour until the mixture resembles coarse crumbs with pea-sized pieces of butter remaining. Those visible butter bits are what create flaky layers.
Step 4: Add the Buttermilk
Pour in the cold buttermilk gradually, stirring gently with a fork until the dough just comes together. Do not overmix. The dough should look slightly shaggy and soft.
Step 5: Fold for Layers
Turn the dough onto a lightly floured surface. Gently pat it into a rectangle about 1 inch thick. Fold it over onto itself 3 to 4 times. This simple folding technique creates beautiful, bakery-style layers.
Step 6: Cut the Biscuits
Pat the dough to about 1 inch thickness. Use a round biscuit cutter and press straight down without twisting. Twisting seals the edges and prevents proper rising. Place biscuits close together on the baking sheet for softer sides, or spaced apart for crispier edges.
Step 7: Bake Until Golden
Bake for 12–15 minutes, or until the tops are golden brown. For extra flavor, brush the tops with melted butter immediately after baking.
Expert Tips for Tall and Flaky Biscuits
Keep Everything Cold
Cold butter and cold buttermilk are non-negotiable. If the butter melts before baking, you’ll lose those signature flaky layers.
Don’t Overwork the Dough
Overmixing develops gluten, which leads to tough biscuits. Handle the dough gently and as little as possible.
Use a Sharp Cutter
A sharp biscuit cutter ensures clean edges and better rise. Avoid using a glass with a dull rim.
Bake in a Hot Oven
High heat creates steam quickly, helping the biscuits rise tall before the structure sets.
Common Mistakes to Avoid
Many home bakers struggle with flat or dense biscuits. Here are the most common issues: Overmixing the dough makes biscuits tough.
Warm butter prevents proper layering.
Twisting the cutter seals edges and limits rise.
Old baking powder reduces lift.
By avoiding these mistakes, you’ll dramatically improve your results.
Variations on Classic Buttermilk Biscuits
One of the best things about homemade biscuits is how easy they are to customize.
Cheddar Buttermilk Biscuits
Add 1 cup shredded sharp cheddar cheese to the dry ingredients for savory, cheesy biscuits that pair perfectly with soups and chili.
Garlic Herb Biscuits
Mix in 1 teaspoon garlic powder and 1 tablespoon chopped fresh herbs such as parsley or chives for a flavorful twist.
Sweet Honey Butter Biscuits
Add 1 tablespoon sugar to the dry ingredients and brush baked biscuits with honey butter for a sweet breakfast treat.
Buttermilk Drop Biscuits
Short on time? Skip rolling and cutting. Simply scoop spoonfuls of dough onto the baking sheet. Drop biscuits are slightly more rustic but just as delicious.
What to Serve with Buttermilk Biscuits
Buttermilk biscuits are incredibly versatile and can be served for breakfast, lunch, dinner, or even dessert. For breakfast, split warm biscuits and top with butter, jam, or honey. They’re also perfect for breakfast sandwiches filled with eggs, bacon, or sausage. For lunch or dinner, serve alongside fried chicken, barbecue, roasted meats, or hearty soups. Classic biscuits and gravy is another favorite comfort dish. For dessert, top biscuits with fresh strawberries and whipped cream for a simple shortcake.
How to Store and Reheat Buttermilk Biscuits
Fresh biscuits are best enjoyed warm, but they store well too. Store cooled biscuits in an airtight container at room temperature for up to 2 days. For longer storage, freeze them in a sealed bag for up to 3 months. To reheat, warm in a 350°F oven for about 5–7 minutes. You can also microwave for 15–20 seconds, though the oven preserves texture better.
Can You Make Buttermilk Biscuits Ahead of Time?
Yes. You can prepare the dough, cut the biscuits, and freeze them unbaked. When ready to bake, place frozen biscuits directly in the oven and add a few extra minutes to the baking time. This makes them perfect for holidays and busy mornings.
Why Buttermilk Makes a Difference
If you’ve ever wondered whether you can substitute regular milk, the answer is yes—but true buttermilk delivers better results. The acidity in buttermilk reacts with baking soda to create additional lift and tenderness. It also adds a subtle tang that balances the richness of butter. If you don’t have buttermilk, make a quick substitute by adding 1 tablespoon lemon juice or vinegar to 1 cup milk and letting it sit for 5 minutes.
Nutritional Overview
While buttermilk biscuits are undeniably indulgent, they can absolutely fit into a balanced diet when enjoyed in moderation. Each biscuit typically contains around 180–220 calories depending on size and added ingredients. Using unsalted butter allows you to better control sodium levels. For a slightly lighter version, you can substitute part of the butter with cold shortening or use low-fat buttermilk, though this may slightly alter the texture.
Frequently Asked Questions
Why didn’t my biscuits rise?
Your baking powder may be expired, your butter may not have been cold enough, or you may have twisted the cutter when shaping.
Can I use self-rising flour?
Yes. If using self-rising flour, omit the baking powder and salt from the recipe.
How do I get ultra-flaky layers?
Use very cold butter, fold the dough multiple times, and avoid overworking it.
Can I make them gluten-free?
Yes, use a high-quality 1:1 gluten-free flour blend designed for baking.
The Secret to Grandma-Style Buttermilk Biscuits
Grandma’s biscuits weren’t complicated—they were consistent. She used simple ingredients, handled the dough gently, and trusted her instincts. The magic comes from technique more than fancy additions. When you focus on cold ingredients, minimal mixing, and proper folding, you’ll achieve that nostalgic, homemade taste every time.
Conclusion: Mastering the Art of Buttermilk Biscuits
There’s a reason buttermilk biscuits have stood the test of time. They’re simple, comforting, and endlessly versatile. With just a few ingredients and the right technique, you can create fluffy, flaky biscuits that rival any bakery or family recipe passed down through generations. Whether you enjoy them for breakfast with jam, serve them alongside dinner, or transform them into decadent shortcakes, homemade buttermilk biscuits are always a good idea. Now that you understand the secrets behind perfect layers and tender crumb, it’s time to preheat your oven and bake a batch of your own golden, buttery perfection.