The Famous $300 Frosting Recipe The Secret to Bakery Quality Cakes
There is a legendary tale in the baking world about a woman who loved a particular bakery’s frosting so much that she begged for the recipe. The bakery agreed to share it for “three-fifty.” Expecting to pay $3.50, she was shocked to see a charge for $350 on her credit card statement. Whether the urban legend is true or not, the frosting—often known as Ermine frosting or cooked flour buttercream—is worth every penny. This isn’t your standard, overly sweet powdered sugar frosting. It is a silky, cloud-like masterpiece that tastes like a cross between whipped cream and traditional buttercream. If you have been looking for the perfect topping for your cakes and cupcakes that won’t leave your guests with a sugar headache, you have found it.
Why This Frosting is a Game-Changer for Home Bakers
Most home bakers rely on American Buttercream, which is a simple mix of butter and powdered sugar. While easy, it can often be gritty, heavy, and cloyingly sweet. The $300 Frosting, or Ermine frosting, uses a vintage technique that involves cooking flour and milk into a thick custard (a roux) before whipping it into creamed butter and sugar. This process creates a structural integrity that is light enough for a delicate sponge cake but stable enough for intricate piping. Because it uses granulated sugar that dissolves during the cooking and whipping process, the texture is incredibly smooth. It’s the “secret” frosting used in original Red Velvet cake recipes before cream cheese frosting took over the spotlight.
Understanding the Ingredients
The beauty of this recipe lies in its simplicity. You likely already have everything you need in your pantry.
The Milk and Flour Base
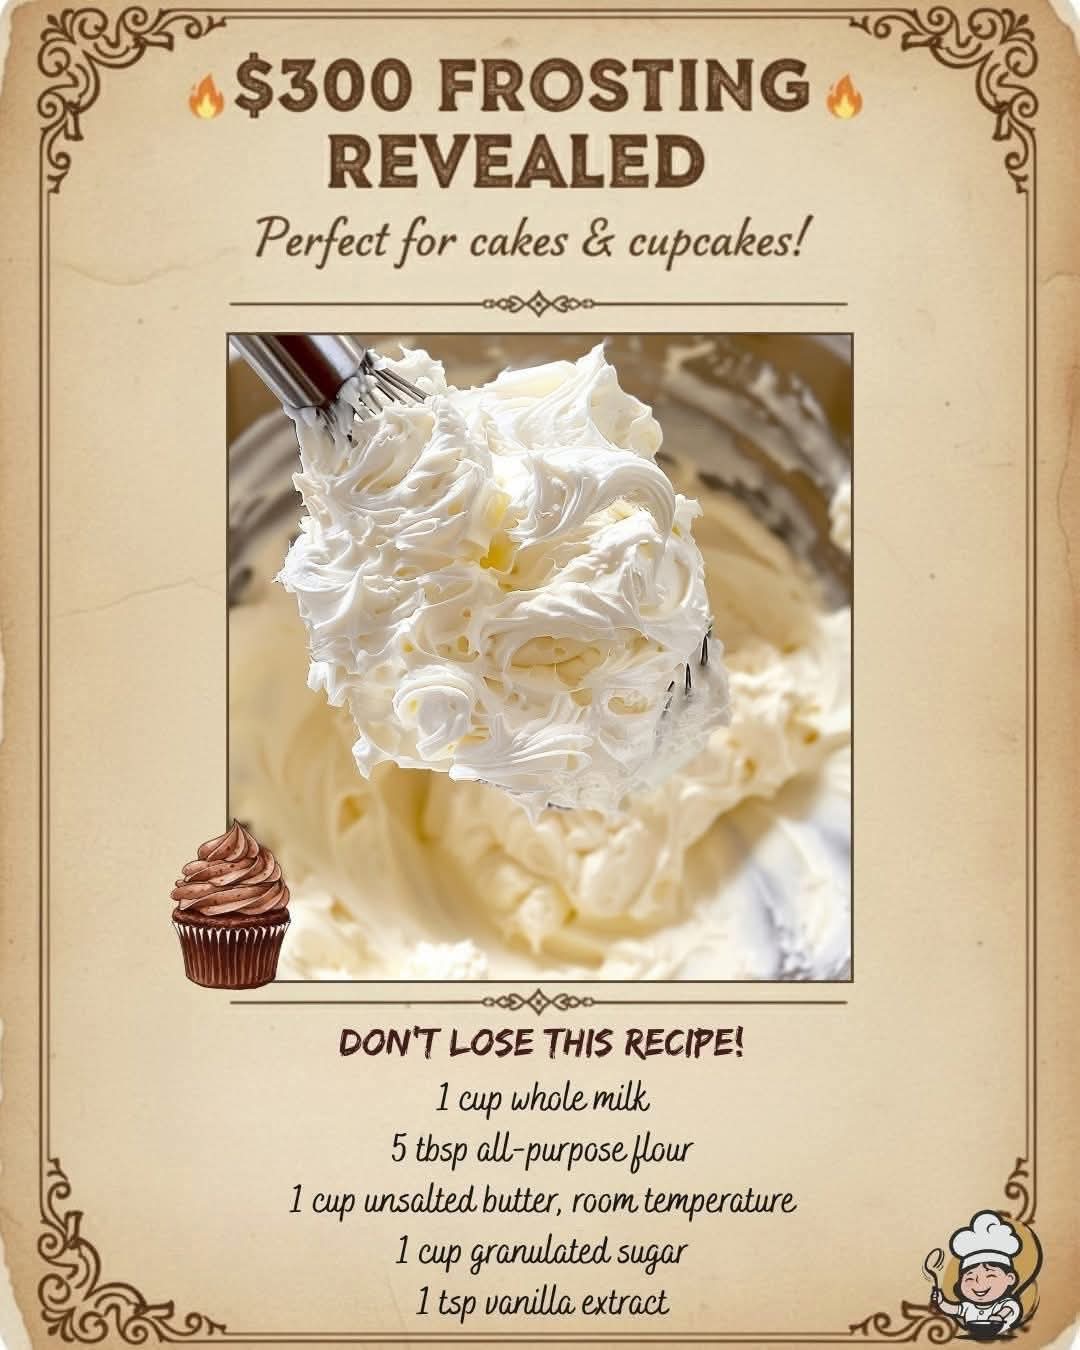
The foundation of this frosting is 1 cup of whole milk and 5 tablespoons of all-purpose flour. When cooked together, these ingredients form a thick paste. This “roux” acts as the stabilizer, giving the frosting body without needing pounds of sugar to hold its shape. Using whole milk is essential for that rich, creamy mouthfeel.
The Butter and Sugar
You will need 1 cup of unsalted butter at room temperature and 1 cup of granulated sugar. Unlike other buttercreams, we aren’t using powdered sugar here. The granulated sugar beats into the butter and dissolves into the custard base, resulting in a finish that isn’t grainy. Make sure your butter is soft but not melting; it should give slightly when pressed with a finger.
The Flavor Finisher
Finally, 1 teaspoon of vanilla extract brings everything together. Because the base of this frosting is so neutral and creamy, the quality of your vanilla really shines through. You can also experiment with almond extract or even a splash of bourbon for a more “adult” flavor profile.
Step-by-Step Instructions for the Perfect $300 Frosting
Step 1: Making the Flour Roux
In a small saucepan, whisk together the 1 cup of whole milk and 5 tablespoons of all-purpose flour until smooth. Place the pan over medium heat and cook, whisking constantly. You want to reach a consistency similar to thick pudding or paste. It is crucial to keep whisking so the bottom doesn’t burn and the flour doesn’t clump. Once thickened, remove from heat.
Step 2: The Cooling Phase
This is the most important step: you must let the flour mixture cool completely. Transfer it to a bowl and cover the surface directly with plastic wrap to prevent a skin from forming. If you add hot roux to your butter, you will end up with a soupy mess. Let it sit until it reaches room temperature.
Step 3: Creaming the Butter and Sugar
While the roux cools, place your 1 cup of room temperature butter and 1 cup of granulated sugar in a large mixing bowl. Using a stand mixer or a hand mixer, beat them together on high speed for several minutes. You are looking for a pale, fluffy texture where the sugar crystals have started to break down and incorporate into the fat.
Step 4: Combining for the Magic
Once the roux is cool, add it to the butter mixture one tablespoon at a time while continuing to beat the mixture. After all the roux is added, add the vanilla extract. Now, turn the mixer to medium-high and beat for about 5 minutes. Watch as the mixture transforms from a curdled-looking mess into a glossy, whipped, white frosting that looks exactly like Chantilly cream.
Pro-Tips for Success
Temperature Matters
The number one reason this recipe fails for beginners is temperature imbalance. If the flour paste is even slightly warm, it will melt the butter. If the butter is too cold, the roux won’t incorporate smoothly. Everything should be at a consistent room temperature before the final whip.
Be Patient with the Whisking
Don’t be afraid of the “curdled” stage. When you first start adding the milk paste to the butter, it might look like it’s separating. Just keep whipping. The emulsion takes a few minutes to stabilize. You’ll know it’s ready when it forms stiff peaks and looks incredibly shiny.
Variations and Customizations
While the classic vanilla version is divine, this recipe is a versatile canvas for other flavors.
Chocolate $300 Frosting
To make a chocolate version, sift in 1/4 cup of high-quality cocoa powder during the butter-creaming stage. Alternatively, you can fold in melted (and cooled) semi-sweet chocolate at the very end.
Citrus or Berry Infusions
For a bright twist, add the zest of one lemon or orange to the butter. If you want a fruit flavor, you can fold in a few tablespoons of reduced strawberry or raspberry puree once the frosting has reached its final fluffy stage.
How to Store Your Frosting
This frosting behaves differently than American buttercream because of the milk content. It is best used immediately for piping. However, if you have leftovers, you can store them in an airtight container in the refrigerator for up to 5 days. When you are ready to use it again, let it come to room temperature and give it a quick whip with your mixer to restore that signature fluffiness. Because it contains milk and butter, cakes frosted with this should be kept in a cool environment or refrigerated if the room is warm.
Conclusion: Why You’ll Never Go Back
Once you taste the silky, buttery, and perfectly balanced sweetness of the $300 Frosting, it is hard to return to store-bought tubs or heavy powdered sugar recipes. It is the ultimate “sophisticated” frosting that makes any homemade cake taste like it came from a high-end patisserie. It’s light, it’s stable, and it’s surprisingly affordable to make. Give this vintage secret a try on your next birthday cake or batch of cupcakes—your guests will definitely be asking for the recipe.