Homemade Pita Bread Recipe Soft Fluffy and Perfectly Puffy Every Time
There is something truly special about homemade pita bread fresh from the oven or skillet. Soft, warm, and gently puffed with beautiful pockets inside, pita bread is a staple that transforms simple meals into something memorable. Whether you use it to scoop dips, wrap fillings, or serve alongside your favorite dishes, homemade pita bread delivers a texture and flavor that store-bought versions simply cannot match. This detailed, SEO-optimized guide is designed to match exactly what people are searching for when they want to make pita bread at home. From understanding what makes pita bread puff, to choosing the right ingredients, mastering the dough, cooking methods, storage tips, and serving ideas, this WordPress-ready article gives you everything you need to create soft, bakery-style pita bread in your own kitchen.
What Is Pita Bread?
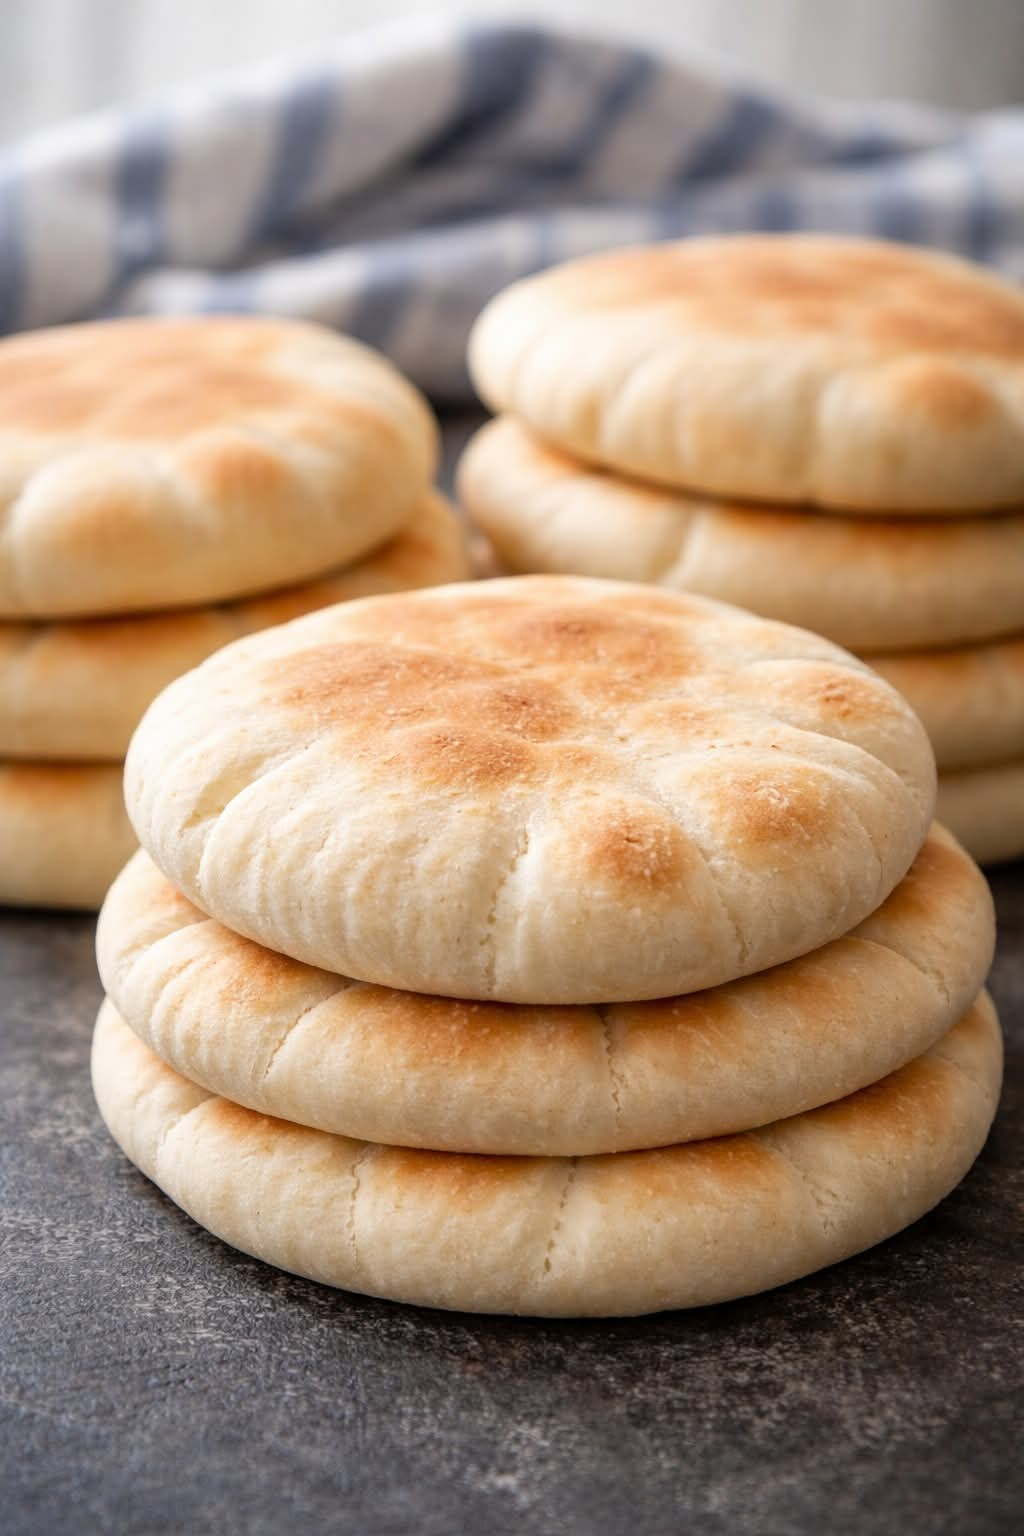
Pita bread is a round, flat bread known for its signature pocket that forms naturally during cooking. Originating in the Middle East and Mediterranean regions, pita has been enjoyed for centuries as a versatile and essential bread. The pocket forms when the dough hits high heat, causing steam to inflate the bread and separate the layers. Pita bread is traditionally made with simple ingredients such as flour, yeast, water, salt, and a small amount of oil. Its simplicity is part of its charm, yet the technique behind making it perfectly soft and puffy is what makes homemade pita so rewarding.
Why Homemade Pita Bread Is Better Than Store-Bought
Making pita bread at home completely changes the experience. Homemade pita is softer and more flexible. The flavor is fresher and more balanced. The pockets are larger and more reliable. You control the ingredients, avoiding preservatives. It can be enjoyed warm, straight from the pan or oven. Once you try homemade pita, it quickly becomes a kitchen staple.
Ingredients for Perfect Soft Pita Bread
The beauty of pita bread lies in its simplicity. All-purpose flour or bread flour provides structure and softness. Warm water activates the yeast and hydrates the dough. Active dry yeast or instant yeast helps the dough rise. Salt enhances flavor. Olive oil adds softness and flexibility. A small amount of sugar can help activate the yeast and promote browning. Using fresh yeast and properly measured ingredients ensures consistent results.
Understanding the Secret Behind the Pita Pocket
The iconic pita pocket forms because of steam. When rolled dough is placed on a very hot surface, moisture inside the dough rapidly turns to steam. This steam forces the dough layers to separate and puff up like a balloon. To achieve this at home, three things are essential. The dough must be properly hydrated. The surface or oven must be very hot. The dough should be rolled evenly, not too thick or too thin. When these conditions are met, pita bread puffs beautifully almost every time.
Step-by-Step Homemade Pita Bread Recipe
Start by dissolving yeast and sugar in warm water and letting it rest until foamy. In a large bowl, combine flour and salt. Add the yeast mixture and olive oil, mixing until a dough forms. Knead the dough until smooth and elastic, about 8 to 10 minutes. Place the dough in a lightly oiled bowl, cover, and let rise until doubled in size. Divide the dough into equal portions and shape into balls. Let the dough rest briefly, then roll each ball into a round about a quarter-inch thick. Heat a skillet or oven until very hot. Cook each pita until it puffs and develops light golden spots. Remove and cover with a towel to keep soft. This process creates tender, flexible pita bread with beautiful pockets.
Cooking Methods: Skillet vs Oven
Both methods work well, and each has its advantages. Skillet cooking offers quick results and excellent puffing. Oven baking allows you to cook multiple pitas at once. A cast iron skillet or heavy pan provides the best heat retention. A baking stone or inverted baking sheet in the oven mimics traditional ovens. Regardless of method, high heat is the key to success.
Tips for Extra Soft and Fluffy Pita Bread
Let the dough rest between shaping and rolling to relax gluten. Do not over-flour the dough, which can make it dry. Roll evenly to ensure consistent puffing. Cover cooked pitas immediately to trap steam and keep them soft. Use olive oil sparingly for tenderness without heaviness. These small details make a noticeable difference in texture.
Common Mistakes to Avoid
Cooking on low heat prevents puffing. Rolling the dough too thick or uneven stops pocket formation. Skipping resting time makes dough hard to shape. Overcooking dries out the bread. Using too much flour creates stiff pita. Avoiding these mistakes leads to consistently perfect results.
How to Serve Pita Bread
Pita bread is incredibly versatile. Slice and fill with grilled meats, vegetables, and sauces. Serve warm with hummus, baba ganoush, or yogurt dips. Cut into wedges and toast for pita chips. Use as a base for flatbread pizzas. Serve alongside soups, stews, or salads. Its neutral flavor makes it suitable for countless dishes.
Pita Bread Variations
Once you master the basic recipe, variations are easy. Whole wheat pita bread adds fiber and nutty flavor. Herb-infused pita incorporates dried herbs into the dough. Garlic pita adds aromatic depth. Mini pitas are perfect for appetizers and snacks. These variations keep homemade pita exciting and adaptable.
Storage and Freezing Tips
Homemade pita bread stores very well. Keep at room temperature in an airtight bag for up to two days. Refrigerate for up to five days. Freeze for up to two months, separating layers with parchment. Reheat briefly in a skillet or oven to restore softness. Freezing makes pita bread ideal for meal prep.
Nutritional Benefits of Pita Bread
Pita bread is a good source of carbohydrates for energy. It is naturally low in fat. Whole wheat versions provide fiber and nutrients. Portion control is easy due to its individual size. Paired with protein and vegetables, pita fits well into balanced meals.
Why This Homemade Pita Bread Recipe Works
This recipe succeeds because it respects the fundamentals of bread making. Proper hydration, adequate resting time, and high cooking heat work together to create soft, puffy pita with reliable pockets. It is simple enough for beginners yet satisfying for experienced bakers.
Conclusion
Homemade pita bread is one of the most rewarding breads you can make at home. Soft, fluffy, and perfectly puffed, it elevates everyday meals and brings authentic flavor to your table. With simple ingredients and the right technique, you can create pita bread that rivals bakery and restaurant versions. Whether you use it for wraps, dipping, or serving alongside your favorite dishes, this homemade pita bread recipe delivers consistent, delicious results. Once you experience the taste and texture of fresh pita straight from your kitchen, it is hard to go back to store-bought again.